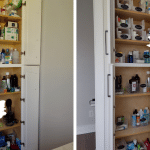
After we finished building our house I knew I wanted to have a place to display my kids’ artwork. I knew I didn’t want that place to be the fridge in the kitchen, as they can produce 3-4 drawings on any given day so the fridge would quickly become cluttered.
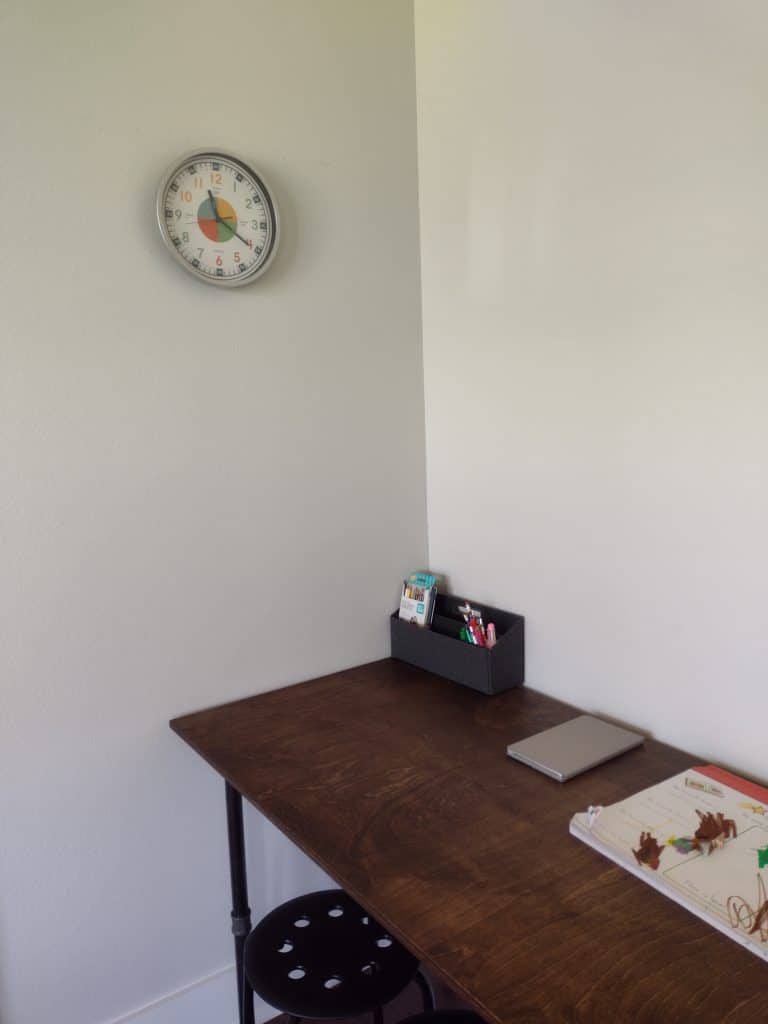
I wanted a dedicated spot where you could easily see them but at the same time, they were out of the main living/kitchen area and neat. Since we use the extra bedroom as our classroom and toy room I figured this was the ideal spot to display their artwork.
I loved the idea of picture frames that you could store and switch out the artwork, but to fill the wall and get the look I wanted I would need to purchase a minimum of 6 of those frames. And at $20/pair minimum, I was looking at a minimum of spending $60 on frames that in my opinion would be used for only one purpose and I didn’t want to invest in that. I also wanted to have a more flexible solution as the function of the room may change as the kids get older and I didn’t want to poke holes into the walls, when I may end up changing its use. I was looking for a long-term temporary solution.
So I continued my search for another solution. I came across the rod idea but didn’t really like the look of it too much. I also preferred wood. So after a lot of searching and not finding what I was looking for, I decided to try and find a system that would work for me.
So today, I am sharing the process of how to make your own DIY custom kids’ artwork display. It really is a great system and I am so excited to share it with you. Below you will find all of the benefits of this system, materials, and the process of doing it yourself.
Benefits
As I mentioned earlier, this is a great system that can be quickly done and has several benefits.
- Inexpensive – the wood strip is 96 inches long and gives you quite a bit of a run to work with. So depending on your size, you may need just one strip. Also, clips and command strips are not super expensive.
- Customizable – you can set this up to fit your needs.
- Flexible – not only are you able to customize this to meet your needs but you can really personalize the look of your wood strips.
- Temporary – because it uses command strips you can move it and take it down if you no longer need it. This makes it an excellent system if you are renting.
Materials
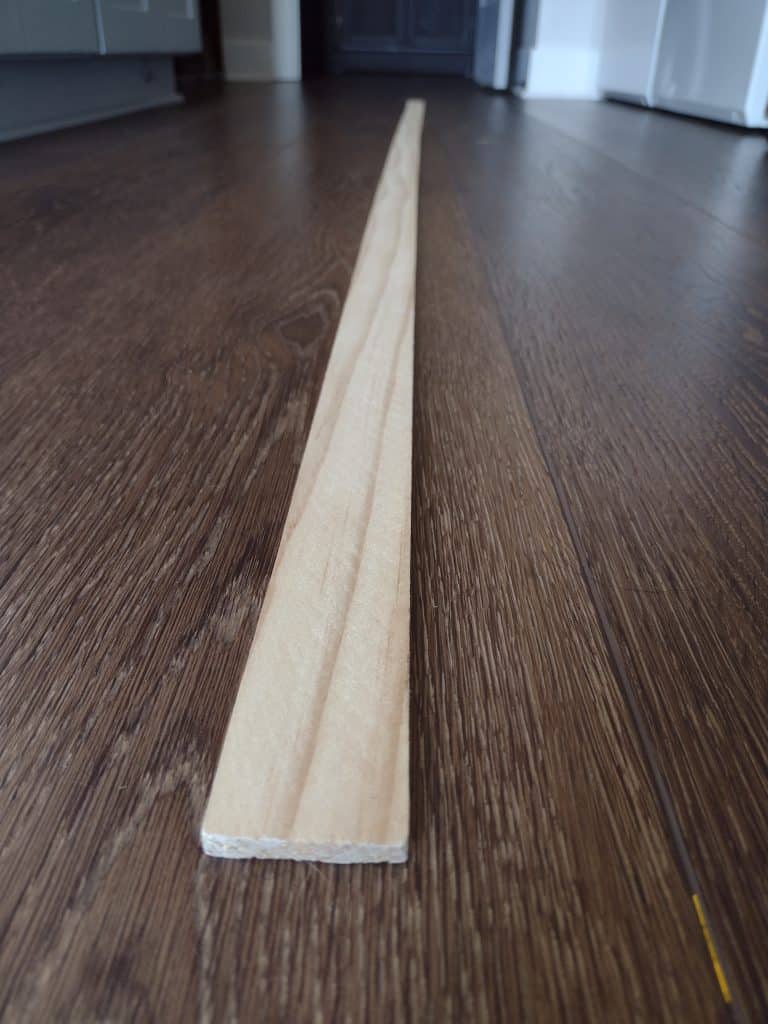
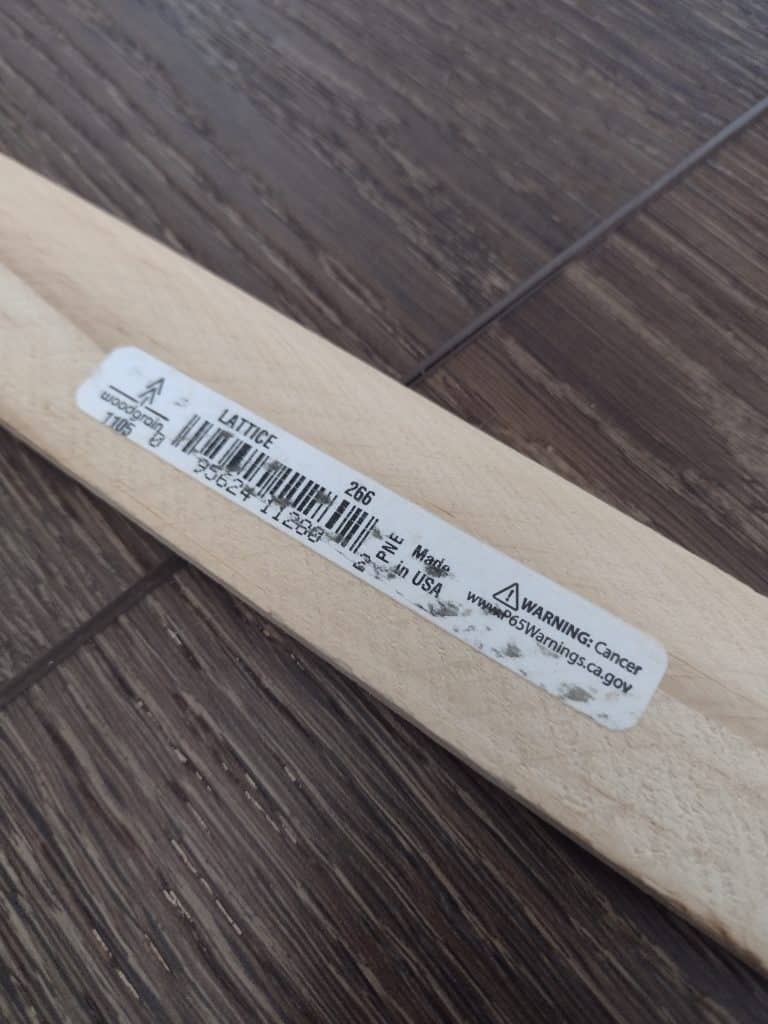
- Wood strip – if you are handy you can cut these yourself, or if you want you can purchase them at your local big box store – this is the one I purchased.
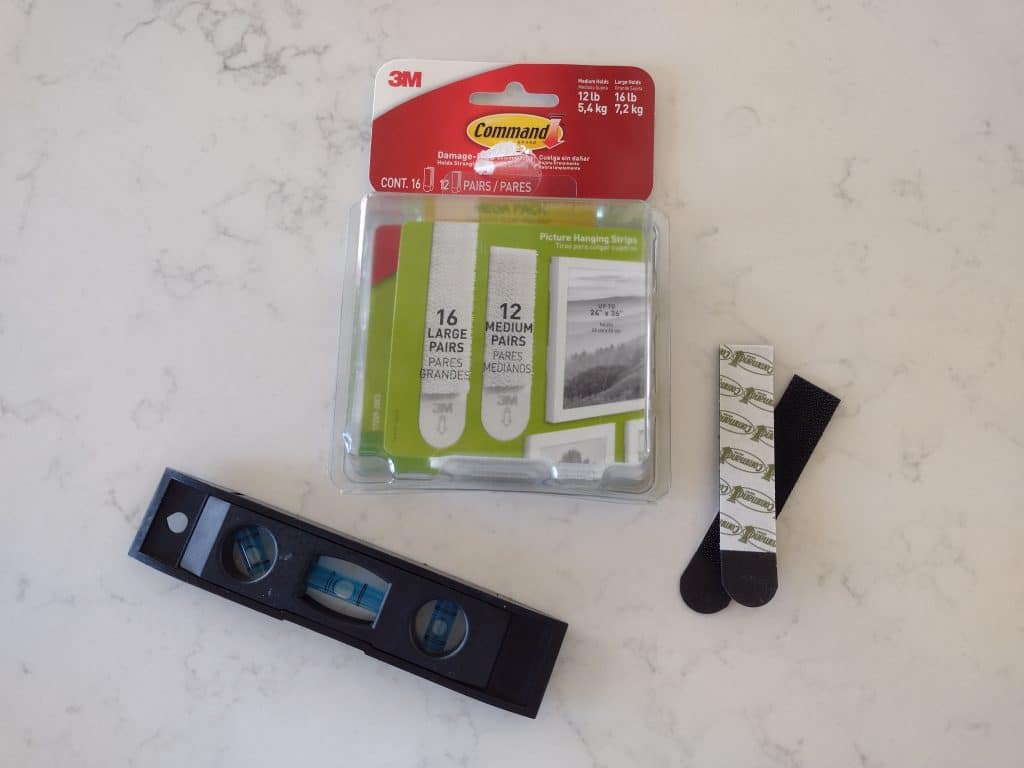
- Command Strips – the ones I used were large size, but now I see you can get an X-large size as well. So shop it around and get the cheapest option you can find and place them according to the size of your strip and the command strip.
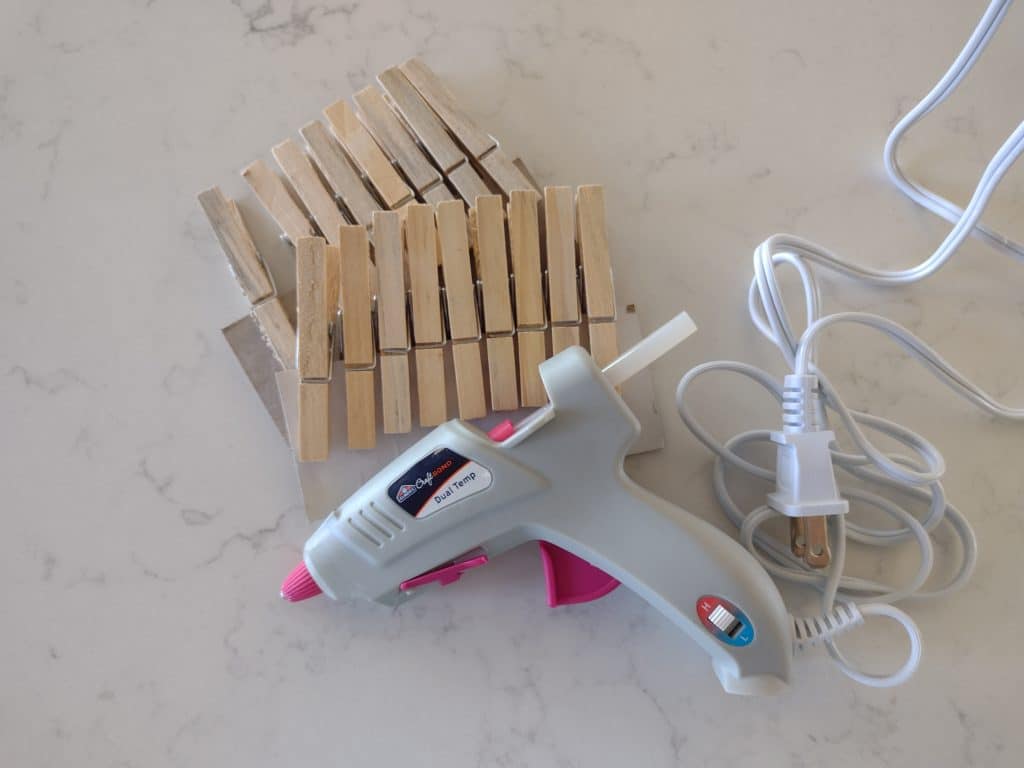
- Clips – I used clothes pins that I had on hand, but there are so many options to choose from so again it depends on what look you are going for.
- Glue gun or another adhesive to attach clips
- Level
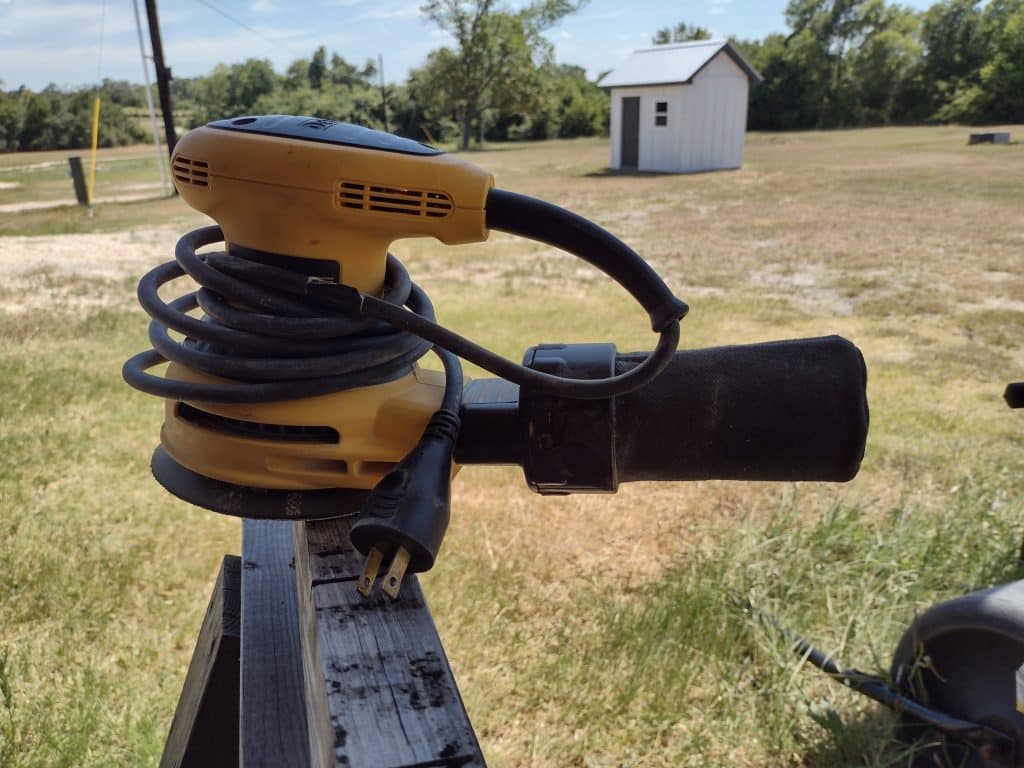
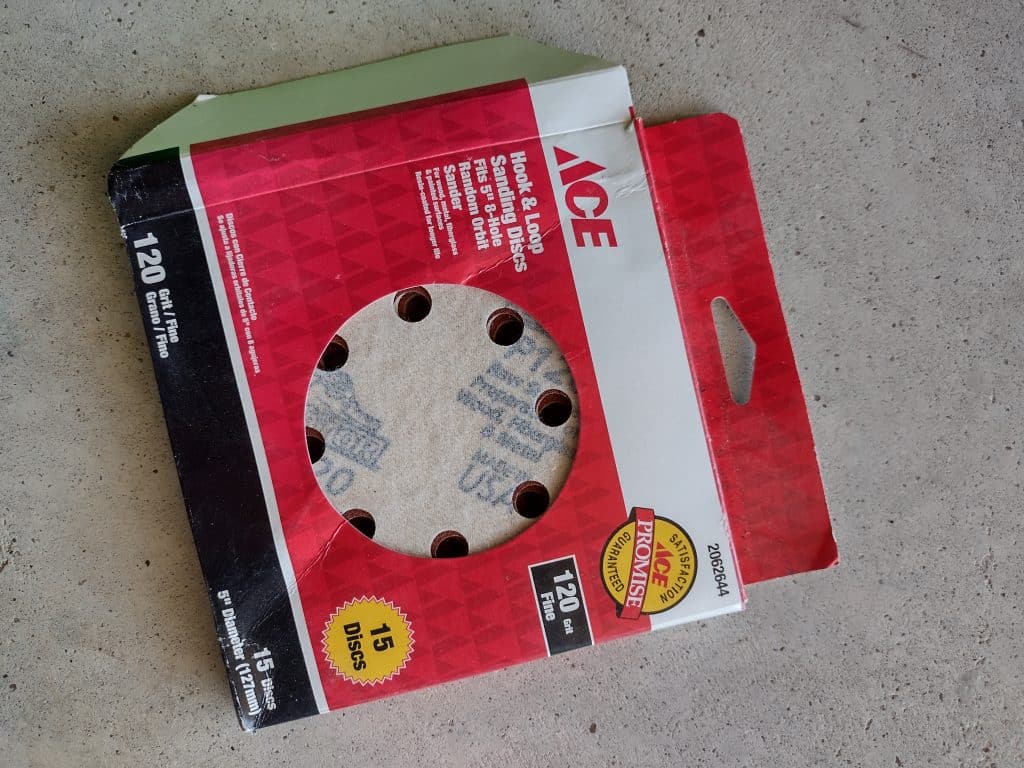
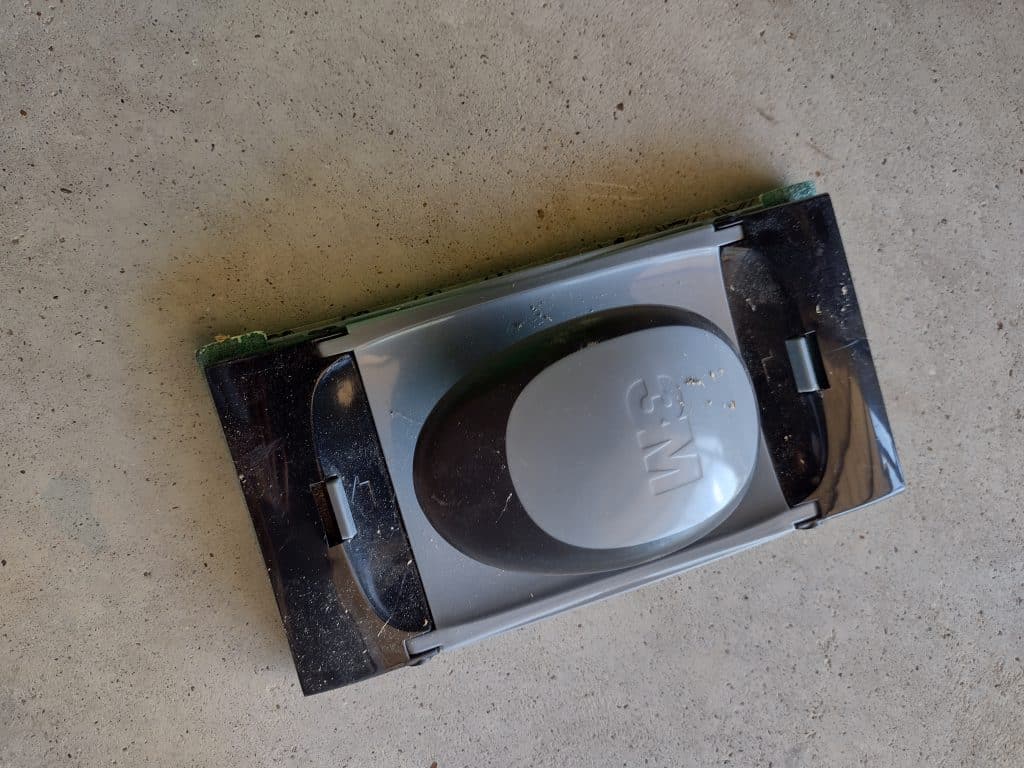
- Sanding paper or sander – whatever you have. The strip I purchased at home depot was pretty smooth already but I think it feels a bit better if you just give it a quick sand.
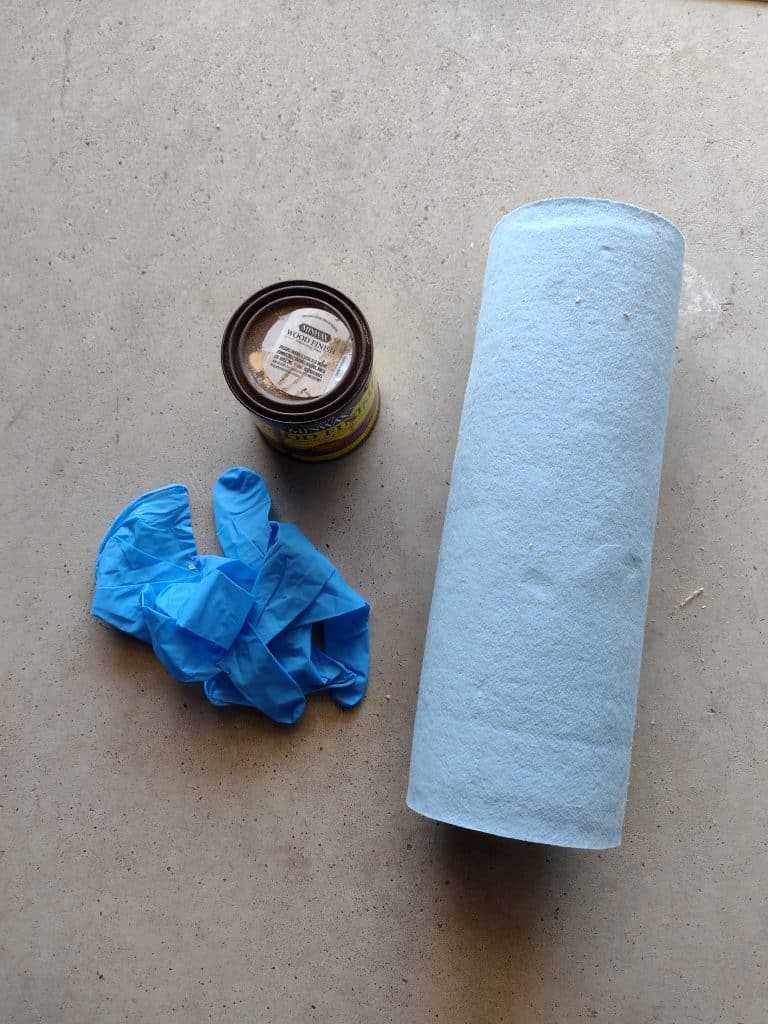
- Stain/Paint (optional)
Cost Breakdown
As of writing this post August 2023 this was my cost breakdown.
| Item | Quantity | Cost | Total |
| Wood Strip | 2 | $8.78/per strip | $17.56 |
| Command Strips | 1 box of 14 pairs | $12.90 | $12.90 |
| Clips | Already had | $0 | |
| Sanding Paper | Already had | $0 | |
| Stain | Already had | $0 | |
| $30.46 |
Process
The process to create this and place it on the wall was simple and below you’ll find a step-by-step process.
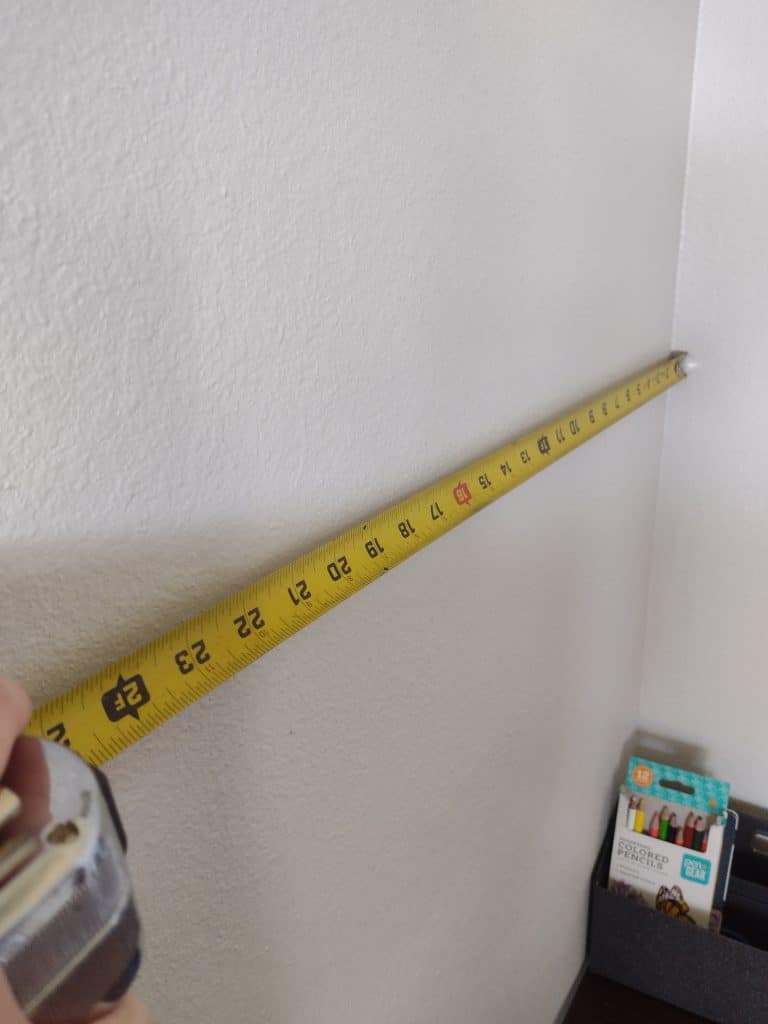
Step 1: Plan and Measure
Before you start, plan the layout and decide where you want to place the artwork. Measure the space to determine the size of the wood strip needed.
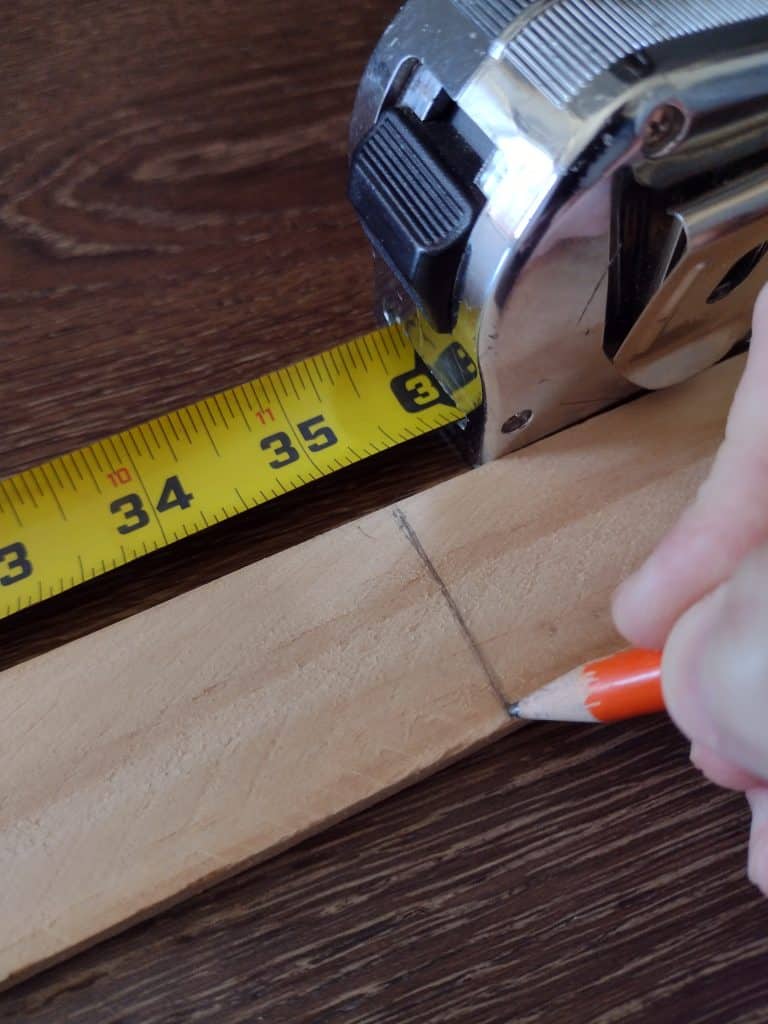
Step 2: Cut the Wood Strip
Cut the wood strip to the size you need. If you want to do what I did which is to hang the artwork on a corner wall then you’ll need to cut accordingly. When cutting your strip of wood for the corner you can choose to do it two ways. A 45-degree miter cut or a straight cut. A 45-degree miter cut will give you a clean seamless joint, as the two pieces will fit together at a right angle forming a corner. This is usually commonly seen when looking at trim or molding work. The other cut that you can do is a straight cut. This is easier to do especially if you do not have a miter saw. This cut will look fine but you will be able to see that the two pieces butt up against each other rather than “fit together”. Either way, you cut it will work.
Step 3: Attach Clips
After you have your strip of wood cut you’ll want to attach the clips. As I mentioned above I used clothes pins. I laid them out on the strip of wood and when I found the configuration and distance apart from one another I glued them using a glue gun. The beauty of using this system is that you can use different types of clips and if you wanted to you could also use magnets. This route would increase your overall cost but would also give you extra flexibility as the magnets could be placed anywhere rather than at a set spot. I placed my pins about every 8 inches apart and started the first clip about 4 inches from the end of the strip where it “started”.
Step 4: Sand and Stain (Optional)
This step is optional as you can leave the raw wood as is, you can just sand it, or you can sand and stain it. I chose to sand and stain the ones I am using in our “classroom”. However, I plan on adding another one of these in my littles room and will leave it the raw blonde color as it will match the rest of the room decor. I did opt to lightly sand it as I prefer a smoother wood texture to the touch. The strip as purchased was fairly smooth so a light sand was all that was needed to get it to my liking.
Step 5: Attach Command Strips and Hang
The last step in this process is to add the command strips and place the system on the wall. Depending on the length of your wood strip is how I would determine the spacing between the command strips. If your strip is 3 feet or less then I would just place 2 command strips at each end of the wood strip. Just remember to combine 2 of the command strips together as you place them on the wood strip so that you can hang it on the wall and have the correct placement. If your strip of wood is longer than 3 feet then I would try and evenly divide the strip and place the command strips accordingly. For example, if your wood strip is 6 feet long then I would place a command strip about every 2 feet or so.
Enjoy Your Custom DIY Kids Artwork Display
So there you have it, your very own custom display for your little ones’ precious artwork. You’ll love the flexibility this offers you and you can customize the look to match your own decor. We’ve really enjoyed being able to display the artwork and it offers us a lot of space more than any other system could. So go ahead grab the materials and get started yourself.