If it’s extremely dry outside and you’re worried about it leading to foundation issues, consider installing an easy DIY foundation watering system that’s automatic. It takes about 2-3 hours to install and after that, it runs on auto. It’s a lot more affordable than a professional sub-soil version and is a lot easier than dragging a soaker hose around the perimeter of your home.


Why We Installed a DIY Foundation Watering System
So far this summer has been exceptionally hot, and unfortunately, there’s no rain in sight. Our trees are currently on life support via drip irrigation The ground around our property is bone dry, and large cracks are starting to form again. The same thing happened last summer too.
We have a lot of clay in our soil and this makes them prone to high degrees of expansion and contraction. When we get lots of rain they expand and when it’s dry during the summer, the soil shrinks and cracks form., so we decided to address the well-being of our foundation as well. After doing some research we decided to place drip irrigation around the perimeter of the house to help keep the foundation moist and more consistent.
We have a floating slab, which is supposed to be more resilient to extreme changes in the surrounding soil however, it’s not immune to foundation problems. So by adding the drip irrigation around the perimeter hopefully, this will prevent any future foundation issues.
Materials:
Here are all of the materials we purchased: There were some we did not use because of our current water setup.
- Drip hose – 1/2″ Polyethylene Pressure Compensating Drip Line – Emitter Spacing 9” – Flow Rate 0.5
- Fittings
- Inline Hose Filter
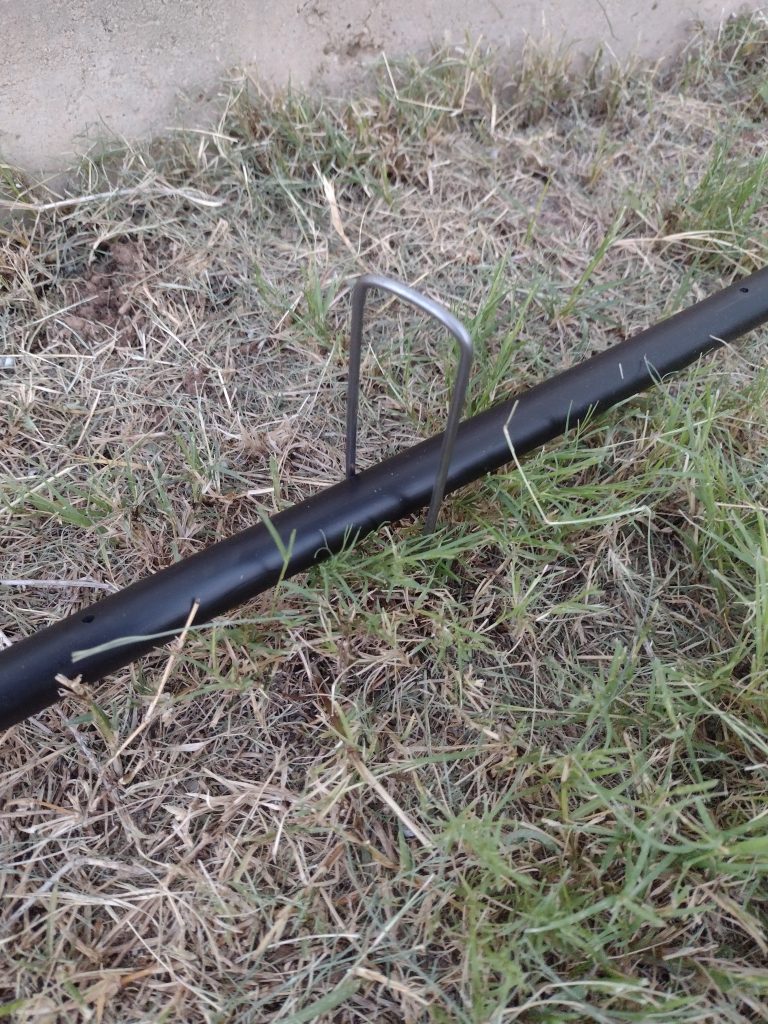
- Garden stakes – We purchased our locally but this is a similar product.
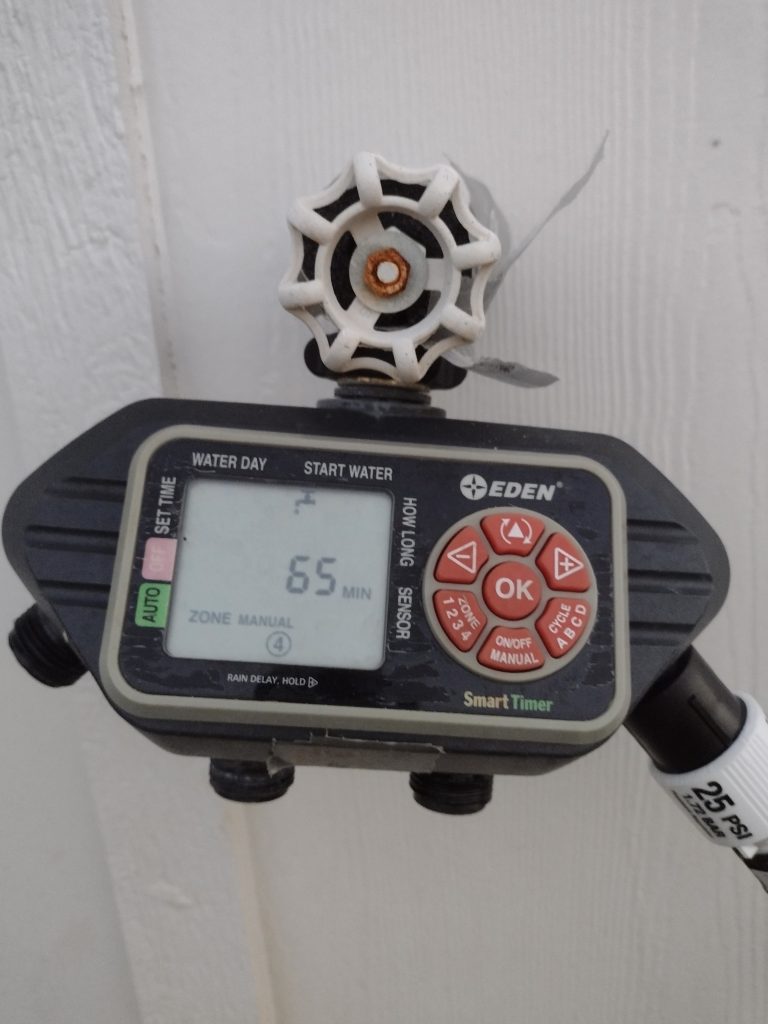
- Timer – This is probably one of the more expensive things on the list but well worth it in my opinion.
- Rubber mallet
- PVC/ Tube cutters
DIY Foundation Watering Process
Step 1: Plan and Measure
The first thing we did was measure the perimeter of our foundation to figure out the amount of hose we would need, making sure to account for extra length for any turns or corners or just mess-ups. Count how many inside and outside corners you’ll have to make so you can order enough of the elbow fittings. Also, note the nearest water source you’ll be using such as your outdoor faucet, and if you need any additional hose to make it work. We used the farthest hose on our house as it wasn’t blocked by any concrete we would have to run our hose over. In addition, this would be the time to figure out the starting point, count how many corners you have, and the ending point. Remember, there may be areas you don’t want to run the hose over so take that into consideration.
[add an image of the house layout and starting/ending points]
Step 2: Purchase Supplies
We purchased all of our supplies from Drip Depot, they are usually our go-to place for any drip supplies we need. We’ve been using them for the past 10 years and they’ve never let us down so check them out.
Step 3: Turn Off the Water and Connect Splitter/Timer (if needed)
We didn’t need to disconnect or turn off the water but in case you do this would be the time to do it. If you need to connect a hose splitter/timer to the outdoor faucet to accommodate the foundation watering system and other hose need do so now. We went with a timer, as we can set it and leave without having to babysit the process. It just allows us to automate the watering process. We’ve done this in the garden too.
Step 4: Lay Out the Hoses/ Secure it and Start the Process
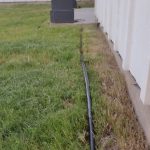
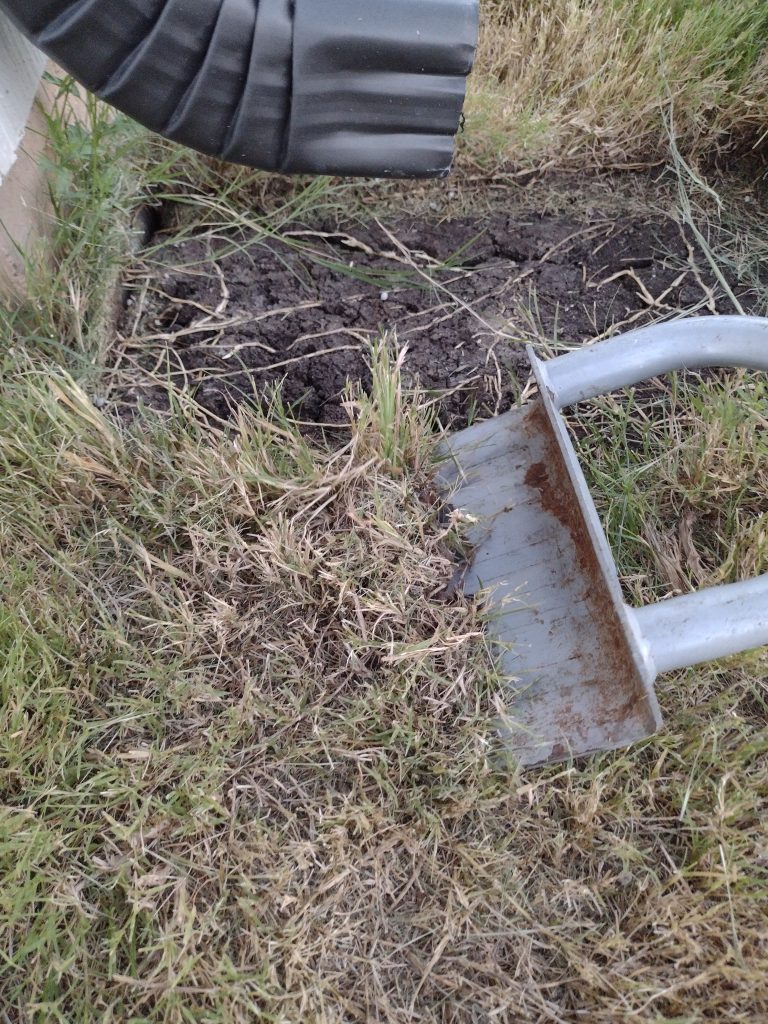
As mentioned earlier, during step one we planned out the starting points and ending points and how we would connect the irrigation, so now all we had to do was put in the work and lay out the hose. Honestly, if you can get a helper, 2 pairs of hands made the process go much smoother and faster. While my husband laid out the hose, I staked it into the ground. When we got to the corners we would cut the hose, add an elbow fitting, and continue the process. Some of the spots that were a bit more tricky were the downspouts with the concrete blocks. We just dug a small trench underneath and added some of the discard hose on top of the active hose so that it wouldn’t get crushed. We placed the hose about 6-7 inches away from the slab but the recommendation is anywhere from 6-18 inches. We did not have any landscaping or other obstacles.
Step 5: Connect and Test the System
Once we had all of the line laid out we connected the hose and tested it to make sure it was working properly. Checking it as we walked along to make sure that the pressure was adequate for the whole perimeter. Once, we were happy with how the drip line was working. My husband set up the timer and we were good to go. At this point, the temperatures are hitting 100 degrees during the day so we will be watering the foundation nightly for an hour until it either cools down or we get some more rain. At this point, we will reassess the need to water the foundation.
Thoughts on the DIY Foundation Watering System
At this point, it is too early to see any benefits of the system but I can comment on the instillation process. Originally, it was just my husband that started the installation and with this heat, he didn’t get very far so we decided to tackle it together. So once the kids were in bed we continued the installation. With both of us working together, it took about an hour to complete ¾ of the house’s perimeter. I would say that we could have easily completed the whole perimeter in less than 2 hours. Not bad for keeping the foundation in good condition. As we test out the system and have it for a longer time, I’ll do an update post on my thoughts and how it is working out.